 Save
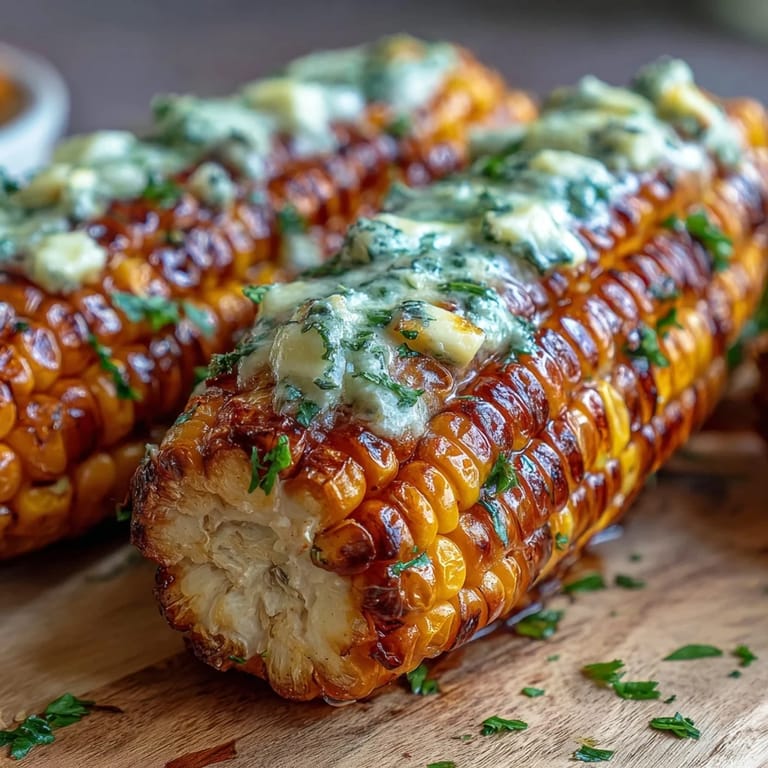
Save There's something about summer that makes me crave corn on the cob, but my impatience with boiling water led me to discover the microwave trick that changed everything. One sweltering July afternoon, I was hosting a backyard gathering and realized I'd forgotten to start the pot early enough. A quick experiment with a damp paper towel and four minutes later, I had the most tender, juicy corn I'd ever made—and it barely touched the stove. Now when people ask how I get restaurant-quality corn in minutes, I just smile and hand them a brush full of garlic butter.
I'll never forget the look on my daughter's face when she realized we could have corn ready before the grill finished heating up. She stopped asking why we couldn't just buy the pre-buttered frozen kind, and started requesting this version specifically. That small shift—from "good enough" to actually wanted—told me I'd stumbled onto something worth keeping.
Ingredients
- Fresh corn, husked: Four ears of the sweetest corn you can find; the fresher it is, the less time it actually needs in the microwave, so don't skip the farmers market if you have one nearby.
- Unsalted butter: Four tablespoons of real butter—this is where you can't cut corners, and room-temperature makes it easier to brush on evenly.
- Garlic, finely minced: Two cloves minced small enough that they won't roll off the corn, and fresh garlic makes a noticeable difference compared to powder.
- Fresh parsley, chopped: Optional but worth it; the green flecks make it feel intentional and add a slight herbal brightness.
- Salt and pepper: Half a teaspoon of salt and a quarter teaspoon of fresh ground pepper—taste as you go since corn can vary in natural saltiness.
- Lemon wedges: Keep them nearby for anyone who wants a squeeze of brightness, though the garlic butter is rich enough to stand alone.
Tired of Takeout? 🥡
Get 10 meals you can make faster than delivery arrives. Seriously.
One email. No spam. Unsubscribe anytime.
Instructions
- Prepare and steam:
- Place your husked corn on a microwave-safe plate and drape it loosely with a damp paper towel—this traps just enough moisture to steam the corn without drying it out. The moisture is key; without it you'll get tough kernels instead of tender ones.
- Cook until tender:
- Microwave on high for four to six minutes depending on your microwave's power and the corn's size, turning each ear halfway through for even cooking. You'll know it's done when a kernel releases a tiny drop of liquid when you press it gently with your finger.
- Make the garlic butter:
- While the corn cooks, combine your butter and minced garlic in a microwave-safe bowl and heat for thirty seconds until the butter melts and the garlic becomes fragrant. The smell is your signal that it's ready; stir in the salt, pepper, and parsley, tasting it straight from the spoon.
- Rest and brush:
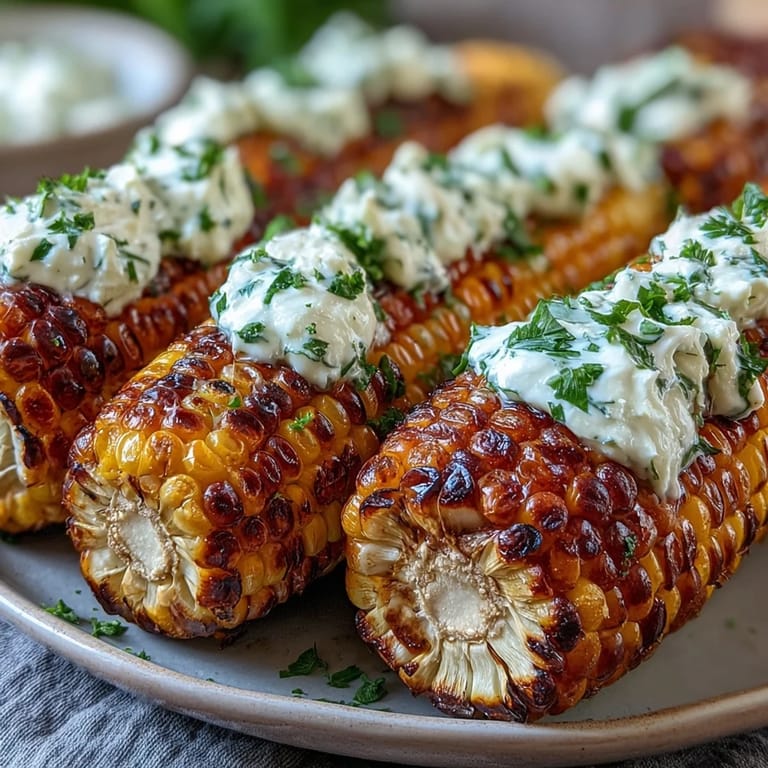
- Let the cooked corn rest for a minute before handling—this isn't just about cooling, it firms up the kernels slightly so they hold the butter better. Use a pastry brush to coat each ear generously, rolling it so the garlic butter gets into all the little valleys.
- Serve immediately:
- Set it on the table while it's still warm and steaming, with extra butter and lemon wedges on the side for anyone who wants more. There's a window of about five minutes before it starts cooling and losing that buttery appeal.
 Save
Save There was a moment last summer when my neighbor came over unannounced right as we were eating, and instead of feeling awkward about the timing, I just grabbed another ear and brushed it with garlic butter while they watched. They stayed for three more ears, and we ended up talking for an hour. Corn on the cob has this beautiful way of bringing people together—there's something unpretentious and genuine about it.
Why the Microwave Wins
I used to think microwave cooking was cheating, especially for something as wholesome as corn. Then I realized that the microwave actually preserves more nutrients and natural sweetness than boiling water ever could. The gentle steam keeps the kernels from sitting in hot water that leaches out flavor and color. Once you taste the difference, you'll understand why this method has quietly become my default.
Making the Garlic Butter Special
The garlic butter is where this dish earns its keep, but here's what I've learned: fresh minced garlic makes a visible and tasteable difference compared to pre-minced or powdered. Mince it right before you make the butter so the garlic releases its oils at the exact moment they hit the heat. If you have leftover garlic butter—which you might, and that's a gift—store it in the fridge and use it on bread, potatoes, or steaks for days afterward.
Timing and Variations
The beauty of this recipe is how it adapts to what you have on hand or what mood you're in. Some nights I add a sprinkle of grated Parmesan over the buttered corn right before serving, and other times a tiny pinch of smoked paprika gives it a campfire feeling. The basic template stays the same, but those small tweaks keep it interesting and let you make it feel like yours.
- Wrap each ear in wax paper before microwaving if you want to trap extra steam and get juicier, almost silkier kernels.
- Fresh lemon zest mixed into the garlic butter adds brightness that cuts through the richness beautifully.
- The garlic butter keeps in the fridge for a week, so you can make a batch and use it on multiple meals.
 Save
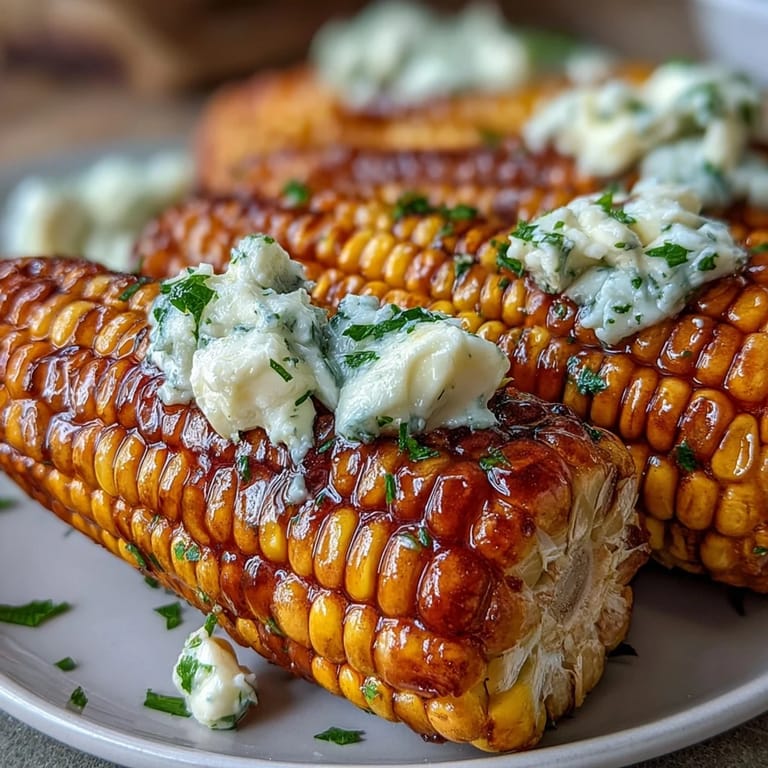
Save This dish reminds me that the best meals don't have to be complicated or time-consuming to feel special. When you serve warm corn on the cob with garlic butter that glistens in the light, people notice the care even if it only took you thirteen minutes.
Recipe FAQs
- → How long should corn be microwaved?
Microwave fresh corn on high for 4 to 6 minutes, turning halfway through to ensure even tenderness.
- → Can I prepare the garlic butter ahead of time?
Yes, garlic butter can be melted and mixed in advance, then stored in the refrigerator for up to one week.
- → What enhances the flavor of the garlic butter?
Salt, freshly ground black pepper, and chopped parsley add depth and freshness to the garlic butter.
- → Are there alternative serving suggestions?
Adding lemon wedges brings a bright citrus note, and a sprinkle of Parmesan or smoked paprika can intensify flavor.
- → Is this suitable for gluten-free diets?
Yes, all ingredients used are naturally gluten-free, making this a safe choice for gluten-sensitive individuals.